While our recently-finished bonus room upstairs was never intended to be a dedicated “media room” or “theater room,” we always knew it'd make a great spot for special family movie nights. But in adding a television, we didn't want to create Cordfest 2016, and have always wanted to try mounting a TV on the wall. So we thought we'd break down the 4 steps that we took to hang our TV, eliminate every visible cord, and hide the cable box.
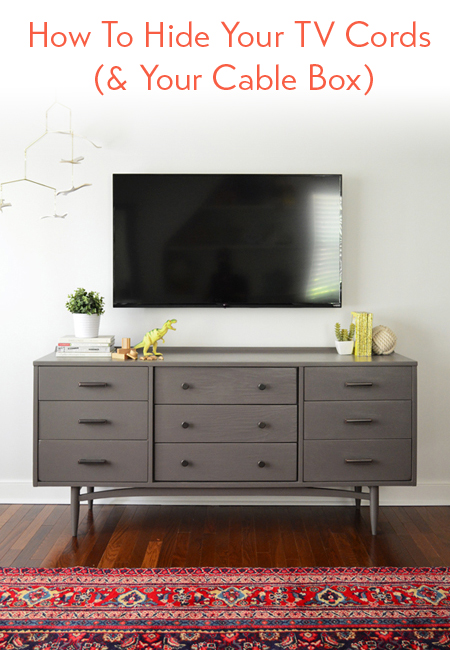
All-in-all, these four steps cost us less than $75 and none took more than an hour to execute (a couple only took a few minutes). They were:
- Mounting the TV to the wall (we used this $18 mounting hardware from Amazon)
- Installing an in-wall cord system (we used this $40 all-in-one DIY kit from Home Depot)
- Getting our power strip off the floor (we already had one, so this step was free)
- Adding an infrared receiver (we used this $14 IR receiver from Amazon)
But before we could worry about hiding the TV wires, we had a couple of things to check off our list first. Like buying the TV itself. So let's back up for a second…
There was really only one wall that made sense for the TV in this room, since it was just about the only windowless and slanted-ceiling-less wall in the space (it sits across from the built-ins we shared last month). Plus, as we've learned after the fact, it's nice that it faces away from the room's door because you can't hear it down the hall (thanks to the thick insulation in that wall, you really only hear it once you step into the room).
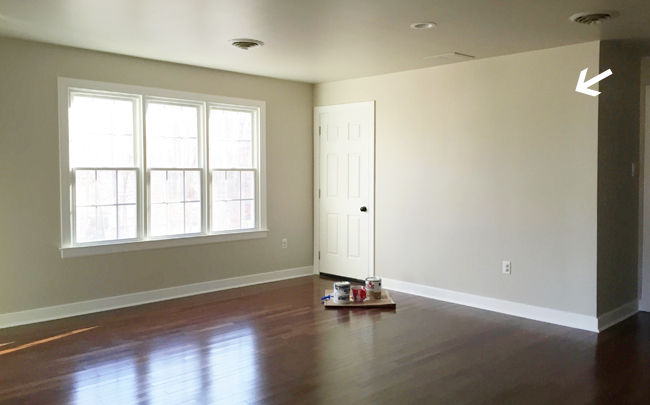
The TV was actually purchased way before the room was even finished. Back during the holidays we scored a 20% off Target coupon for one item in the store (and it didn't say “excluding electronics” – woot!). We chose this 50″ Vizio television since we've liked our Vizio downstairs and this one was also well reviewed. Three cheers for a simple selection process.
With that critical detail out of the way, we continued the theme of “well, if we like our downstairs set-up so much…” and stumbled upon this 9-drawer mid-century dresser on Craigslist for $120. Sold to the couple with a thing for dressers-turned-media-cabinets!
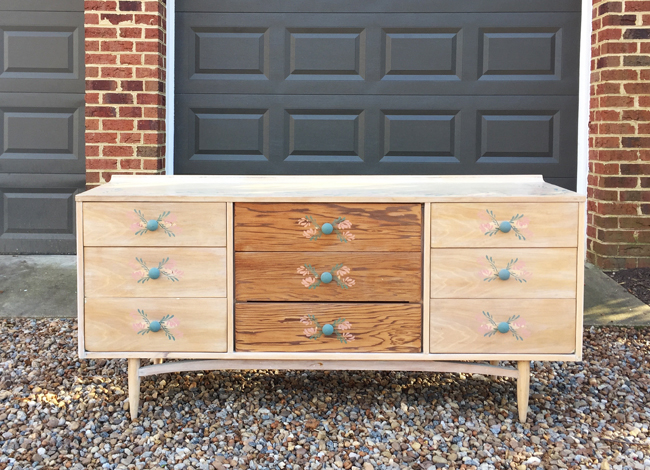
Our original hope was to refinish it with stain just like the one we have downstairs, but when we saw it in person we realized that wasn't a wise plan. We had no trouble sanding off the painted details, but the giant oval sections of wood putty behind each of the 6 outer knobs was never going to blend well (such large portions of wood putty just don't take stain the same way that wood does). Plus, the middle drawers were a noticeably different wood grain, so all signs pointed to just paint the darn thing.
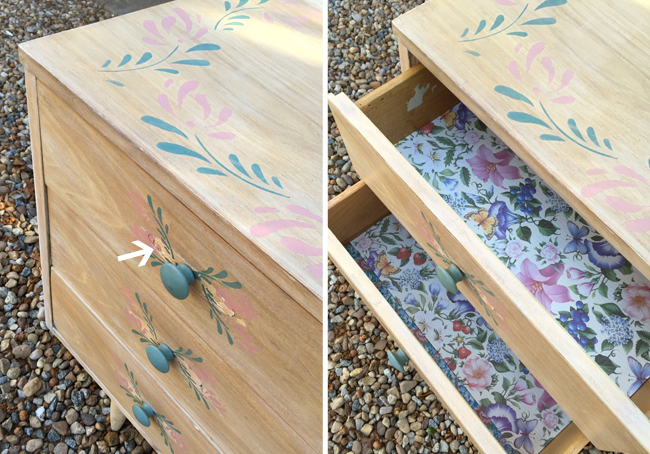
On a happier note, all that sanding got us a little giddy and soon those drawer liners had us both channeling Willy Wonka saying “the snozberries taste like snozberries” and laughing like only parents who have watched that movie 10,000 times can.
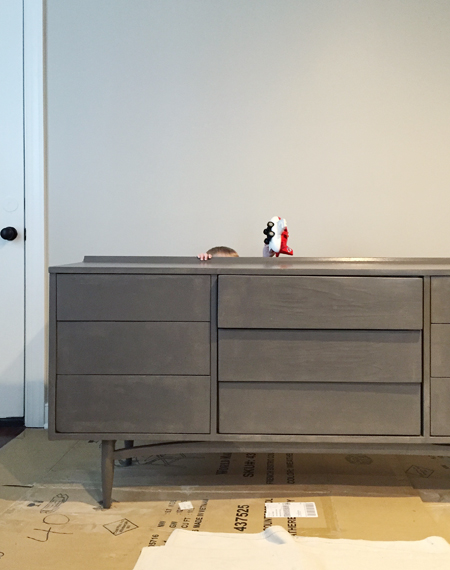
After all the sanding dust cleared, we applied a coat of tinted primer (leftover from painting our guest room) and then painted it Folkstone by Sherwin-Williams. If we couldn't stain it, at least we could give it a deep rich color, right? Here it is awaiting its second coat of paint, while being inspected by a member of our household quality control.
And here it is after the second coat. You can see that we had our old bedroom rug in there at one point, but it was too small so we knew it'd just be temporary.
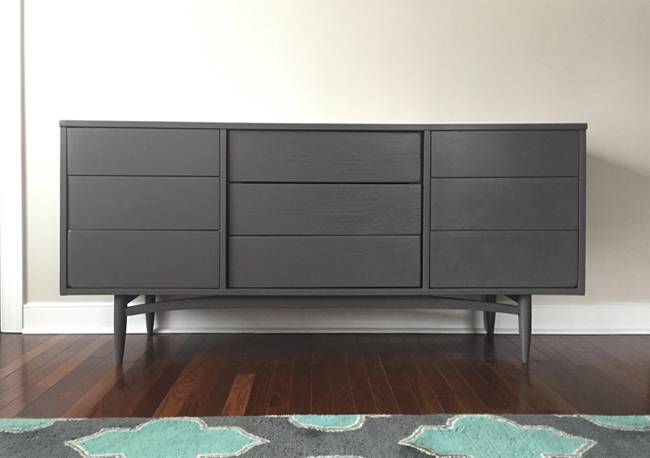
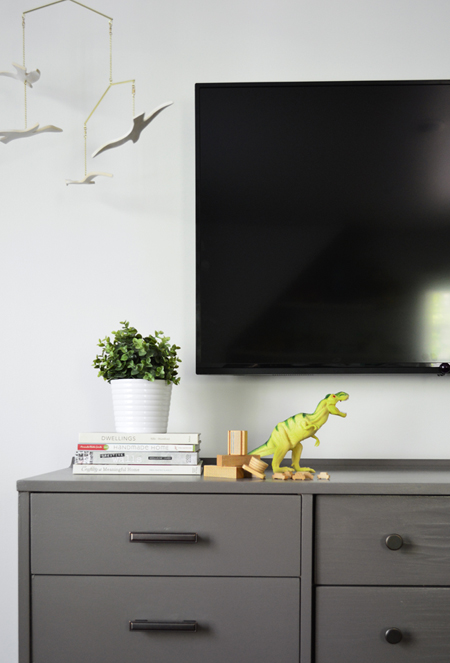
Once we gave the dresser four full days for the paint to cure (it's annoying to wait, but more annoying to get a bunch of dings and marks from lack of patience), we added hardware (this pull and this knob from Target) and plopped all of the technology on there. Pretty, no?
Exactly – no. No, it isn't pretty. Especially those weird little bird feet the TV sits on. There's one thing you don't see when you're viewing it mounted in the store. Which brings us to step 1…
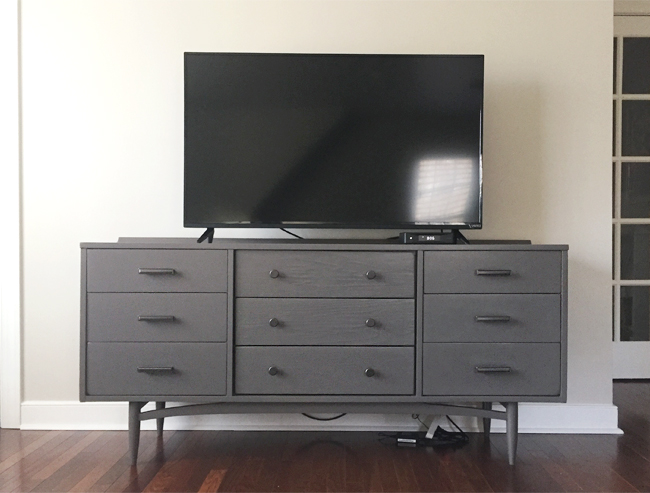
1. Mounting the tv to the wall
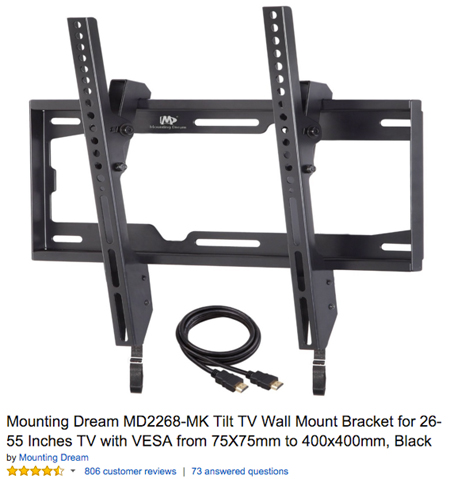
The first order of business was mounting the TV to the wall. I realize this is far from a new concept, but it's actually the first time we've ever mounted a television. AND. BOY. WAS. I. NERVOUS. After reading ten billion online reviews to calm/exacerbate my fears (as online reviews tend to do), we decided to order this $18 mounting hardware.
And apparently in all of my nervousness I took zero pictures of us actually installing it. But that's also because it was very easy and very straightforward (shocker). The back of the TV had holes to screw the two mounting brackets right into it, making that part a no brainer. And then you just screw the backplate into a couple of wall studs, making sure it's super secure. The TV was surprisingly light, so it was easy to lift onto the bracket and lock it into place too. No wonder so many people have done this without crushing themselves or smashing a brand new boob tube. In short, I highly recommend it.

2. Installing an in-wall cord system
The next issue, obviously, was the power cord and HDMI cable spilling out from behind it (we'll get to the situation under the dresser in step #3). So we walked down the A/V aisle at Home Depot (we've probably only been in that aisle 3 times in our 5,793,023 trips), and stumbled upon this $40, highly-rated In-Wall Power Cord & Cable Kit.
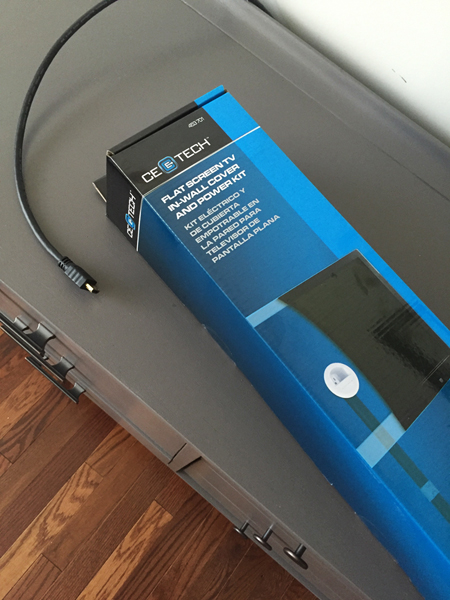
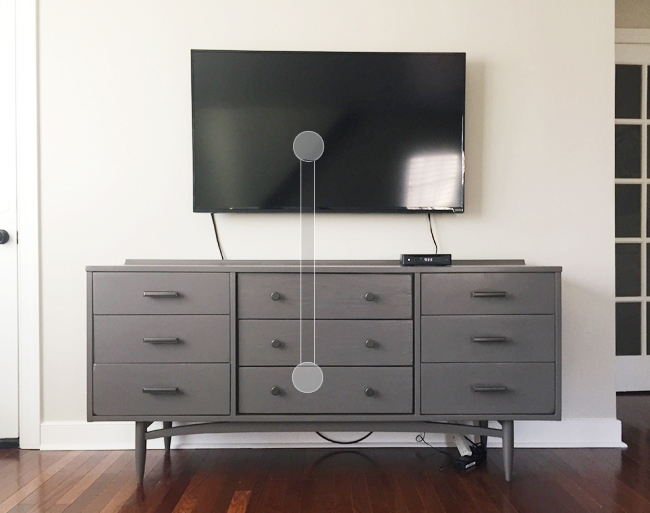
It basically guides you to drill two holes – one behind your TV, another behind your media console – and snake a narrow plastic tube behind your drywall, essentially creating a tunnel for all of your wires to feed through. I used some rough Photoshopping below to show the approximate installation spots so you can pretend to have x-ray vision.
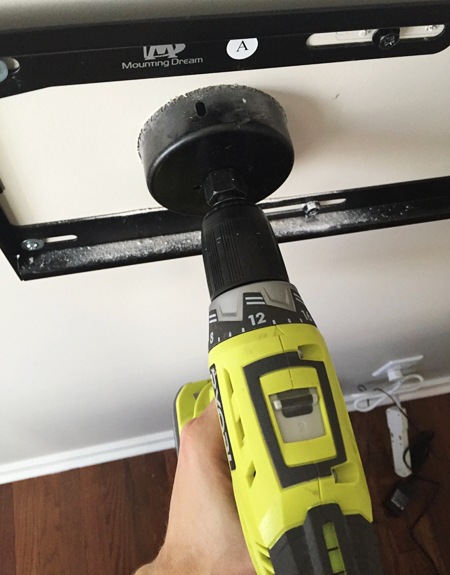
The kit even includes the hole saw attachment for your drill so you can make sure your holes are perfectly sized. We chose a spot right within the mounting hardware plate to drill our first hole, that way we'd be sure the TV would hide it. Then we drilled another hole about 3 feet under it, behind the media console.
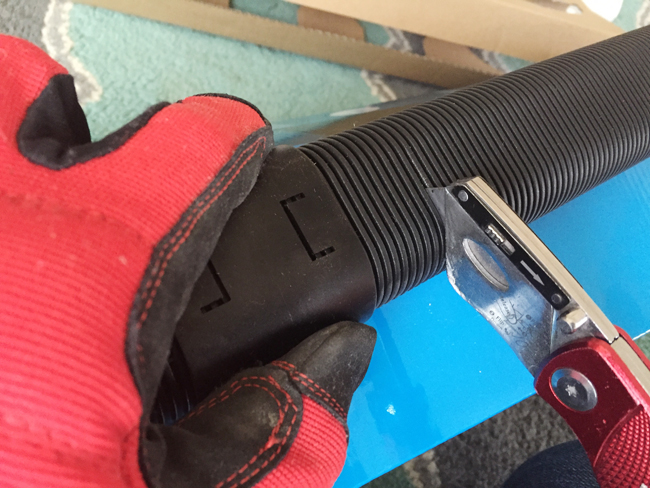
The instructions cover all this, but before you start shoving tubes in your wall you have to cut it to the right length. Fortunately the plastic cuts easily with a small utility knife.
The toughest part was wrestling the tube through the wall since I had to shove some insulation aside to make it go down smoothly. I recommend cutting your hole close to a stud (but obviously not directly over one) so that your tube can slide more easily against the side of a 2 x 4. You'll also note a white cord rubber-banded to the black tube. This is the in-wall power cord that the kit provides, which will make more sense in a moment.
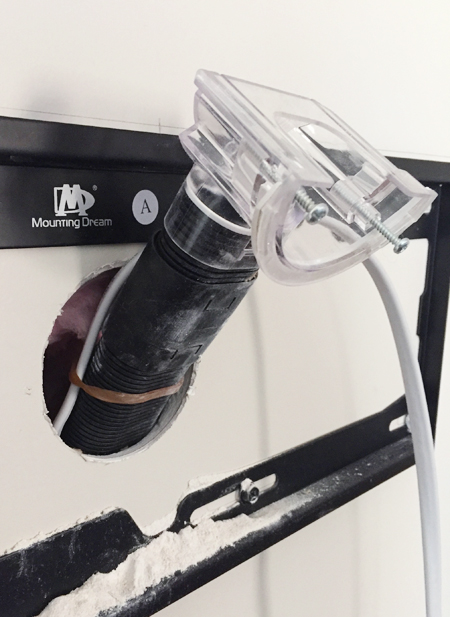
The top end of that white in-wall power cord looks like an outlet, and it nestles nicely into the upper half of the hole (the white part), while the lower/clear part attaches to the top of your tube and becomes the entrance for all of your other cords. These both tighten to the wall using the screws provided, just like any old work fixture box would. So you're left with a nice recessed spot to plug in your TV behind the mounting bracket:
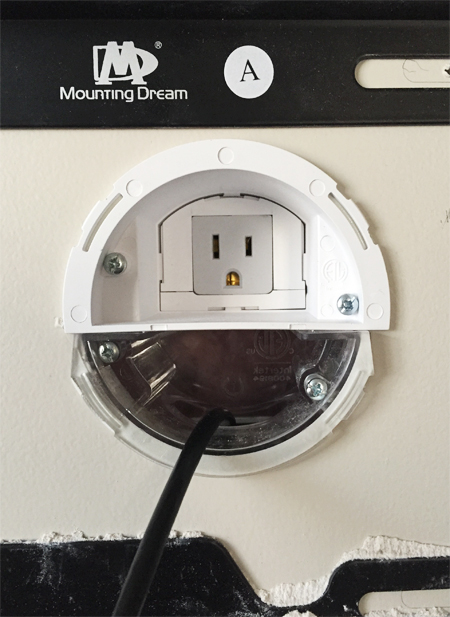
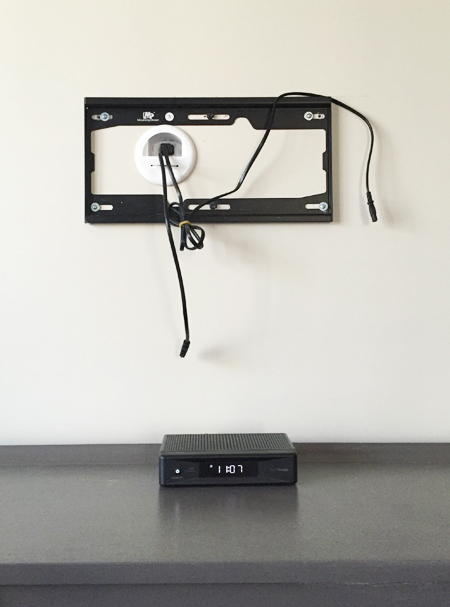
The kit also comes with these white plastic covers that snap on top to give everything a tidier look. So here's what the top-portion of ours looked like once all was said and done. The two black cords you see dangling attach to the back of our TV, so they're also hidden behind it when it's hanging on the bracket.
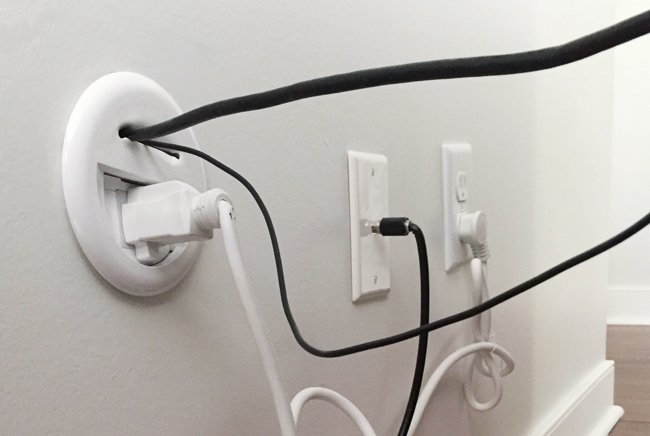
The steps are virtually the same down below, behind the dresser. Drill a hole, connect the black tube & in-wall power cord to their lower counterparts, and secure it to the wall with the provided screws. The in-wall power cord has a plug on this end (unlike the outlet above) and the kit also comes with an additional white power cord so you can connect it all to your wall outlet.
3. Getting the power strip off the floor
While that took care of all of the visible wires above the media console, we still had that mess laying sloppily on the floor below it. You know, all that extra cable that has nowhere to go except where gravity decides it should be? This is where we employed an easy solution (don't let the length of this post fool you – our favorite cord solutions are the unfancy, uncomplicated ones).
Ever notice how all of your powerstrips have slots on the back of them? That's so you can mount them somewhere and get them off your floor. I always do it just below the bottom of the furniture if it's up on legs (so you can still push it against the wall without hitting the power cord), which also creates a little shelf for cramming all of the extra cord. All it took was two screws and about 10 minutes.
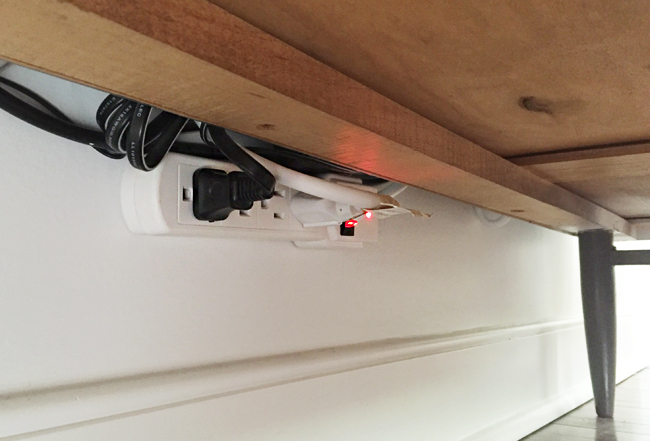
Side note: You may notice that we repainted the walls slightly lighter in the midst of all this (more on that here).
4. Adding an Infrared Receiver
After mounting the TV, installing the in-wall cord tunnel, and getting everything off the floor, our last bit of cordy business was hiding the cable box. Just like we did downstairs, we relied on one of our favorite little pieces of technology: a $14 infrared (IR) receiver.
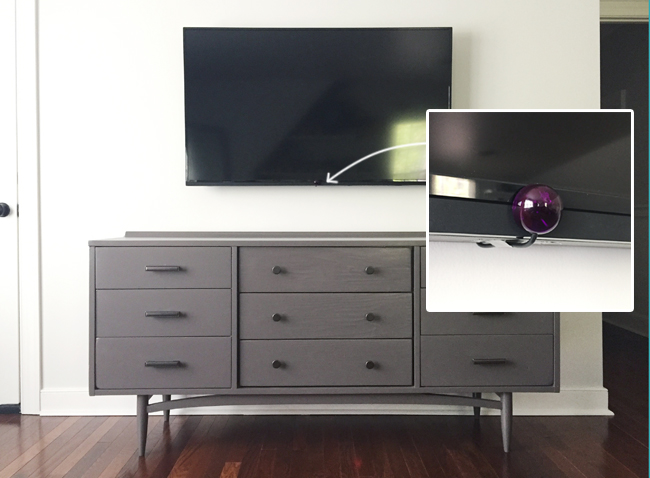
It plugs into the back of most cable boxes and becomes an incognito surrogate spot to point your remote, meaning the box itself can be hidden from view. Our cable box now sits inside the middle drawer, with its power cord, HDMI cable, and IR receiver snaking out the back (we fed them through a small hole we drilled in the back of the dresser).
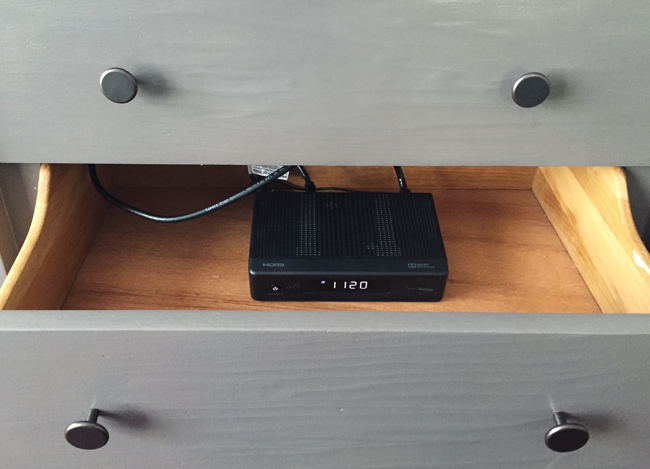
And that, fellow cord haters, is how we got to this. Cord zero, if you will.
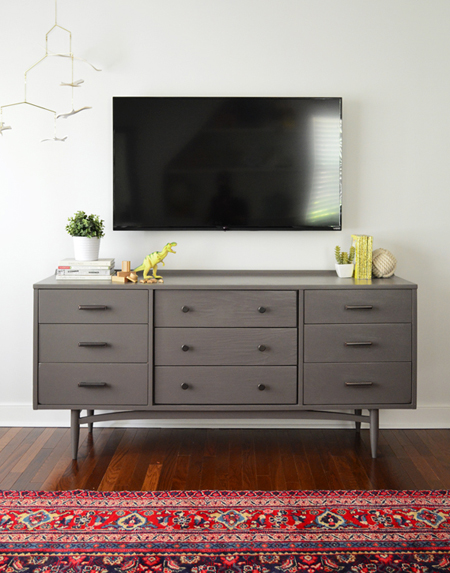
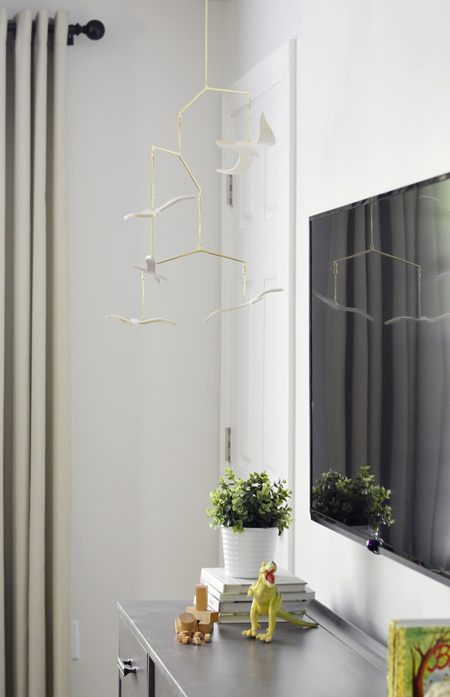
This wall isn't “finished” decor-wise yet (nor is the rest of the room) but we've started to lock down a few “keeper” pieces around the room. Like this cool seagull mobile, which doesn't have quite the same presence in pictures that it does in real life, but let's just say it's enough for me to believe mobiles and TVs should be a thing. Are they a thing already? Either way, I'm on board.
We've also hung some oil-rubbed bronze curtain rods from Home Depot, and bought these curtains in ivory in the 95″ length, which look nice since their dark grommets tie into the curtain rod. After using scrap fabric to test out bolder/brighter/more patterned options, we decided simple was best – especially given our new brightly patterned rug.
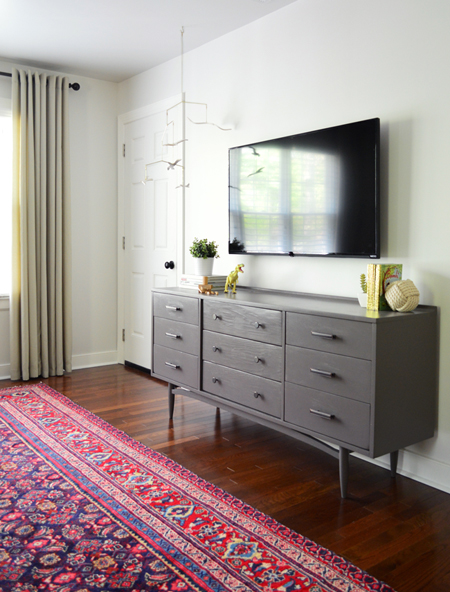
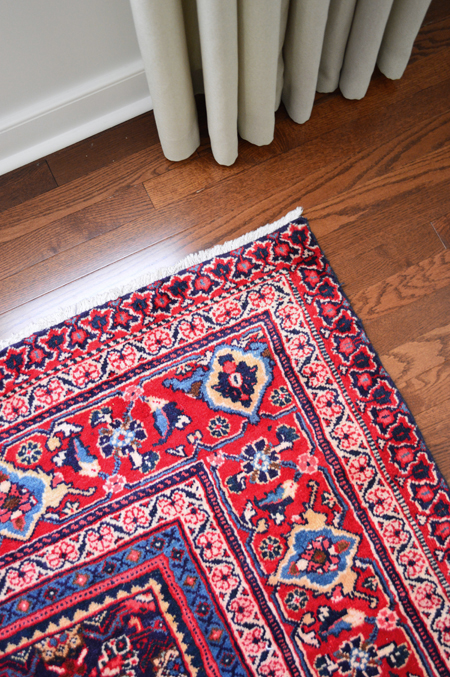
The rug, like its cousins in our living room and dining room, is from a local Turkish/Persian rug wholesaler called Amir Rugs. Since discovering we're actually traditional rug people (surprise!) it has become our go-to rug spot. It takes some hunting to find bright options within their stacks upon stacks, but we knew it was a great way to give this space a playful vibe while still fitting in with the rest of the house. Sherry's favorite part is the little bright blue row that looks like it has Xs and Os.
Since we're aiming for a room that we'll all be able to enjoy as a family, the TV wall is a nice counterpart to the more colorful/playful wall of cabinetry and shelves that we added on the other side of the room (more on that here). We're really loving the balance of fun + function that we're slowly working into this bonus space of ours.
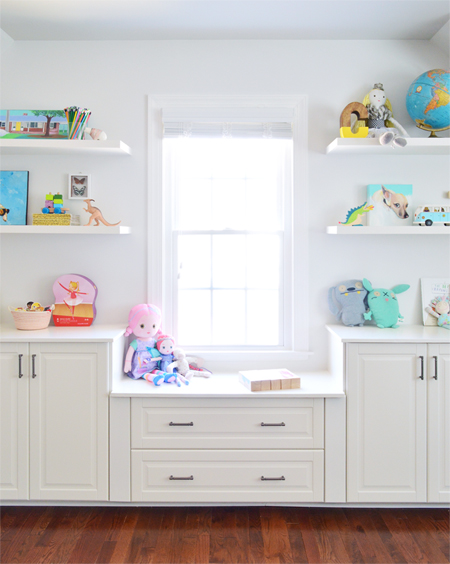
Speaking of the rest of the space, we're making good progress.
We've figured out most of our “zones,” so now it's just about finalizing what goes where, what gets hung on the wall, what stays, and what's still just temporary. But we're hoping the next thing we'll have to share with you is the whole completed (or at least completed-ish) room.
*This page contains affiliate links
The post How To Hide TV Wires For A Cord-Free Wall appeared first on Young House Love.
No comments:
Post a Comment